Table of Contents
Introduction
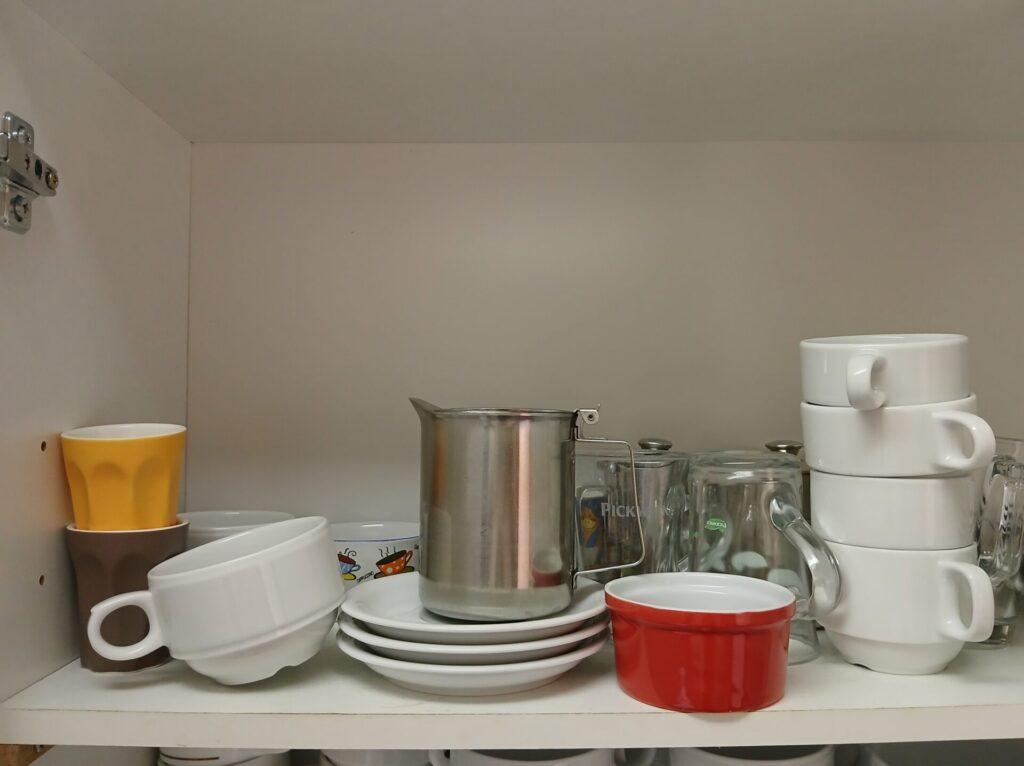
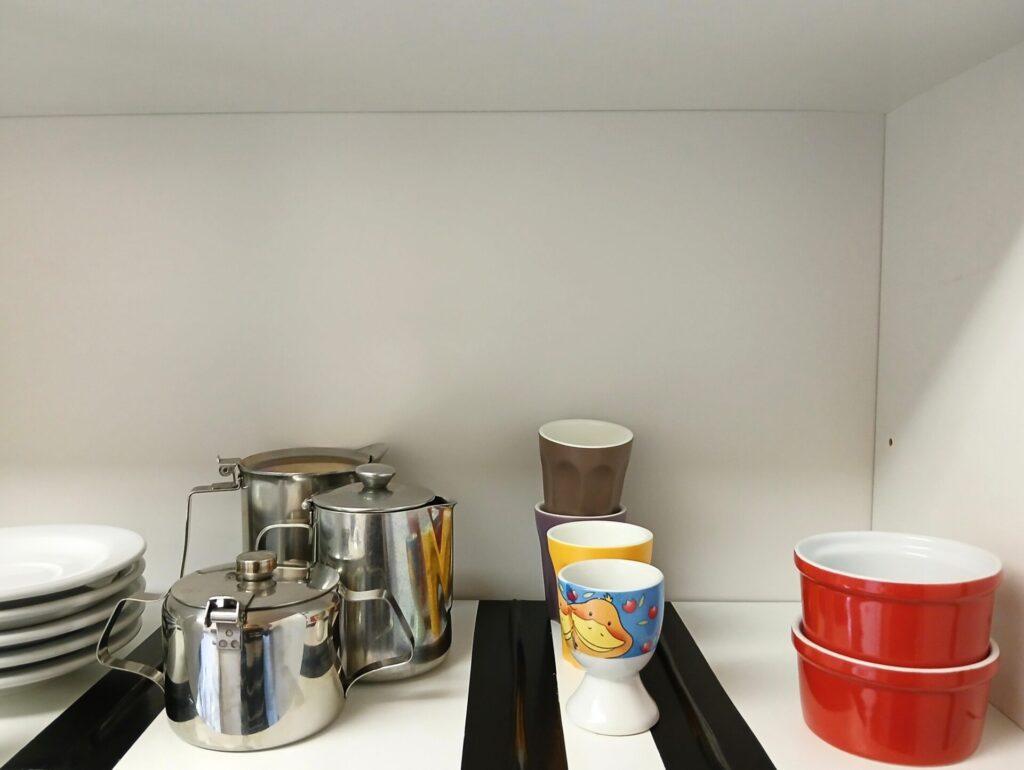
In our office we share some spaces with colleagues, visitors and our residents with multiple disabilities. Initially we noticed that people with a visual impairment found it challenging to find specific objects in our kitchen cabinets. This was caused by the fact that we didn’t talk about a fixed layout where which object belongs. As a quick solution we used string and a piece of contrasting tape to divide the shelves of our cupboards.
Supplies
- A pencil
- A ruler or a straight edge
- Scissors
- A damp cloth or sponge to clean the shelves
- A cloth or a tissue to dry the shelves
- Tape to divide the shelves
- Discuss what feels functional and comfortable for the visually impaired users.
- Some users might want a high contrast between the tape and the shelf. Perhaps in their favourite colour? In our example we used black tape on a white shelf.
- Others might want to avoid visible changes, because it might feel stigmatizing
- Glare can be caused by tape with a shiny surface, check this with the users.
- Think about tape width. Some prefer a broad, very noticeable line; others want something subtle and narrow
- Consider whether a string is needed:
- For some, a visual cue is enough
- Others rely on the tape’s texture
- Some benefit most from both tape and string
- Reduced fingertip sensitivity may call for a thicker, more pronounced line.
Video Instructions
Video coming soon.
Make the divider
Decide how to divide the shelves
- Involve the people who will benefit from the diving the shelves
- Inform them about all categories of objects
- Together, try various set-ups
- Once agreed where which objects belong, take a photograph or write down the sequence. This will help you later when marking where the tape goes.
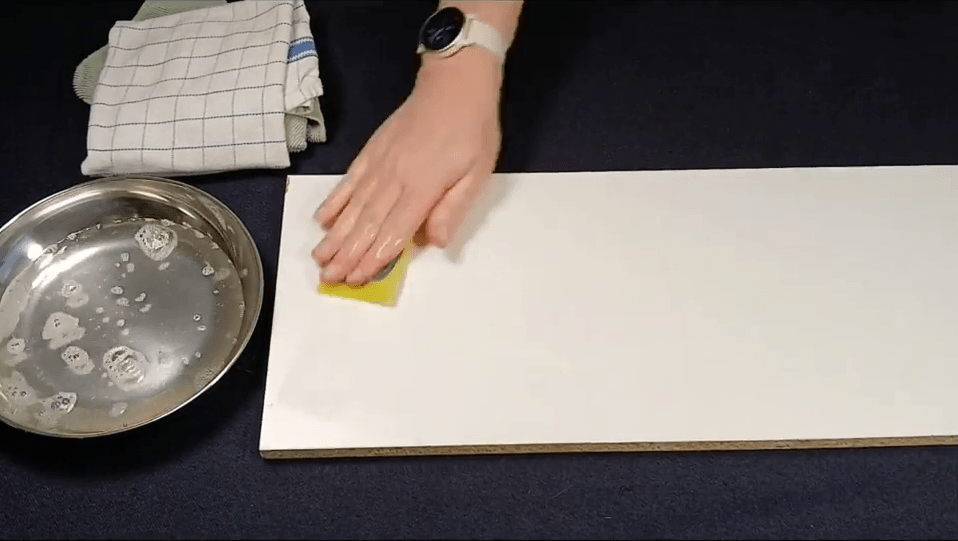
Prepare the shelves
- With the damp cloth or sponge, thoroughly clean the surface. Pay attention to the corners and edges. A cleans surface ensures that the tape will remain sticking as long as possible.
- Use a dry cloth or tissue to dry up the surface
Stick the tape
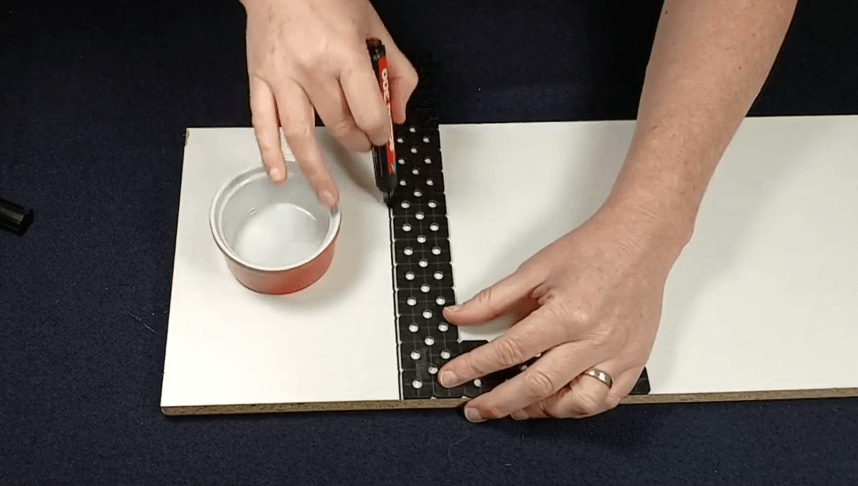
- For the first category of objects, start by marking where you want the centre of the tape. Use a ruler or straight edge to ensure a straight line. In our example we use a thick marker, which makes it easier for you to see. Do use a pencil if that is sufficient for you.
- Cut off a piece of tape which is a bit longer than the width of the shelf. Later you can cut it to the correct length.
Not adding a piece of string?
- To prevent accidental adhesion, fold the tape width double, non-sticking sides against each other.
- Stick the middle of the tape width along the marked line.
- Run your finger on top of the tape, while folding the loose half of the tape over the string.
- If you find any small air bubbles or uneven edges, smooth them out by pressing from the string toward the sides.
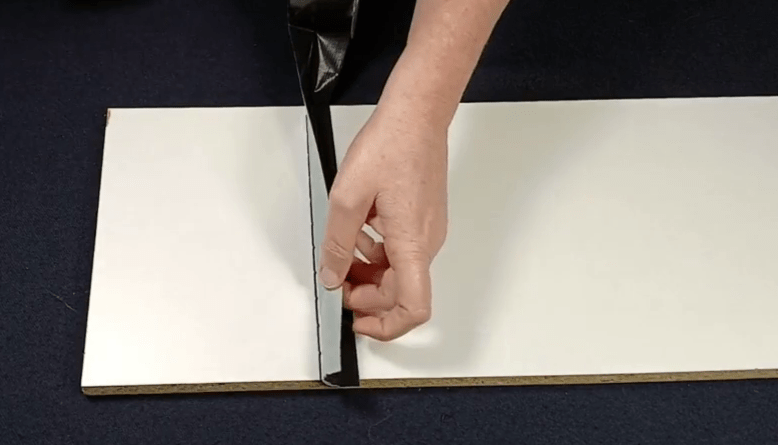
- Cut the tape to the correct length
- If the shelve is above eye level, it might be useful that the tape starts at the front edge of the shelf. Cut off accordingly.
- Otherwise, cut the tape along the edge.
If you want to add a piece of string
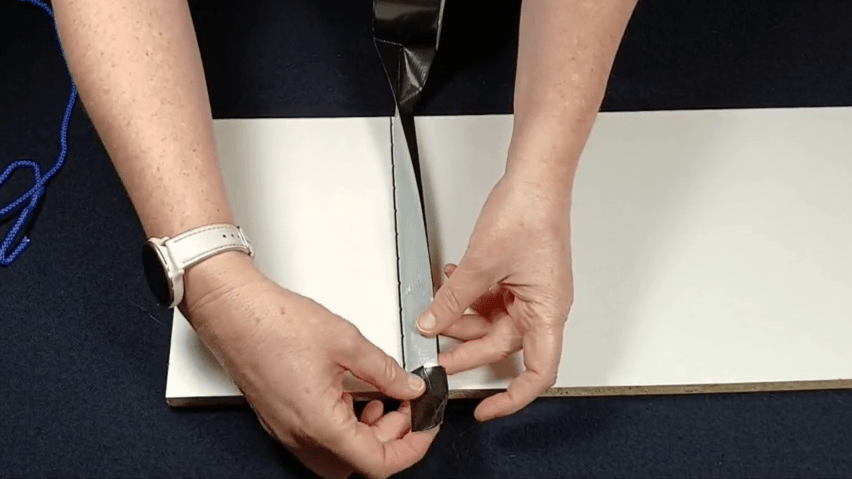
To prevent accidental adhesion, fold the tape width double, non-sticking sides against each other.
- In our video we used a piece of tape wrapped around itself, which is placed against the sticky side of the tape which hangs on the shelf. This allows you to hold the tape without sticking to it.
- Stick the middle of the tape width along the marked line.
- Start by placing the end of the string along the sticky edge of the tape, but leave a small margin at the beginning. Keeping the string about one centimeter shorter than the tape on both ends ensure the string stays hidden and away from dirt, fraying, and moisture.
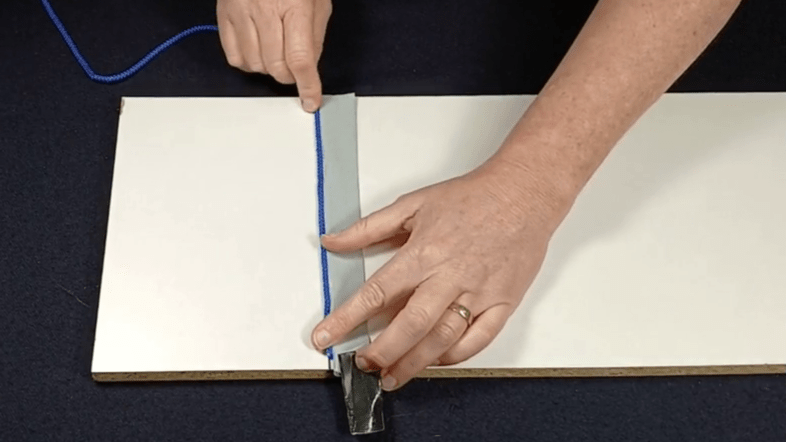
- As you place the string, gently roll it out along the sticky side of the tape. Use your fingertips to guide it so it follows the line smoothly and remains against the fold. Keeping slight tension on the string helps avoid twists or bumps once finished.
- When you reach the edge of the shelf, cut the string half one centimeter shorter.
- Run your finger on top of the tape, along the string, while folding the loose half of the tape over the string. This gives the best tactile result.
- If you find any small air bubbles or uneven edges, smooth them out by pressing from the string toward the sides.
- Cut the tape to the correct length
- If the shelve is above eye level, it might be useful that the tape starts at the front edge of the shelf. Cut off accordingly.
- Otherwise, cut the tape along the edge.
Repeat the previous steps until you have divided the whole shelf. Put the shelf back into the cupboard and add all the objects.
Test the result
- Ask where they think that each division starts, and which objects belong there.
- Pay attention if whether or not the tape is identified. If it’s difficult for the users, try different tape and string.
- Do note that the illumination inside the cupboard causes glare and shadows, which influence visibility
Learn how to use the divider
As mentioned before, in our work environment the visually impaired users also have other disabilities such as cognitive difficulties. After designing the solution together, we need to teach how to use the solution. This is related to their independence in everyday tasks.
In our case we noticed that it took some days to change the habit of exploring the content of the shelf by touching all the content at random.
The following actions worked for us. If needed provide gradual increases in the difficulty.
- Ask them to solely start exploring the content of the shelf by touching the dividing tape
- Say out loud the sequence of the objects, ask the users to point out the specific area of the shelf where they are located
- Ask them to take and return specific objects
- Ask them to teach others the location of a specific object
Extra tip
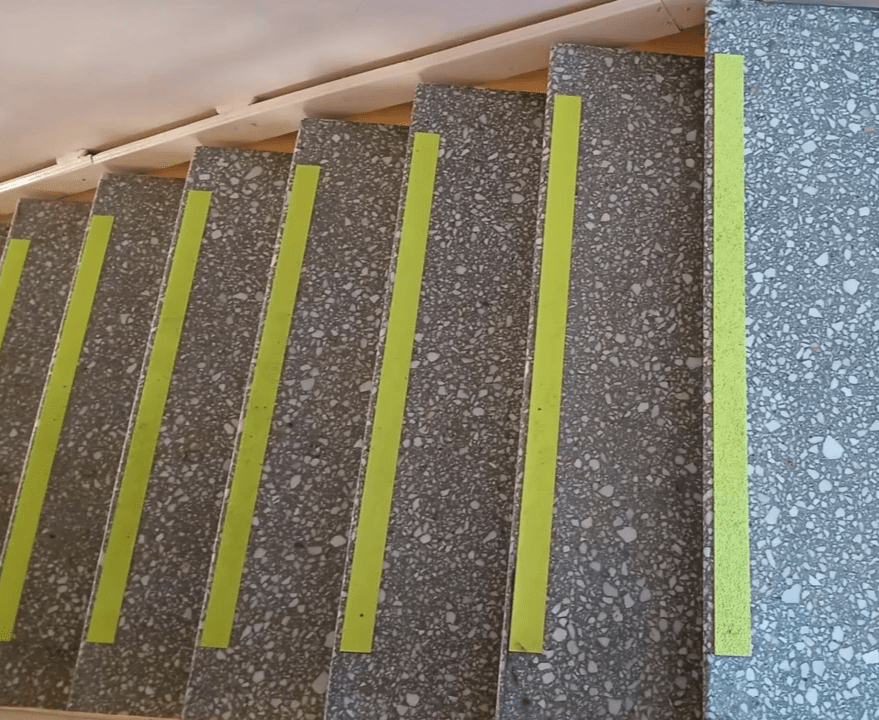
Tape is also a great method to add contrast to things which you want to highlight. In this example we used a yellow, anti slip tape along each step of our grey staircase. By doing so we highlight a potential danger.