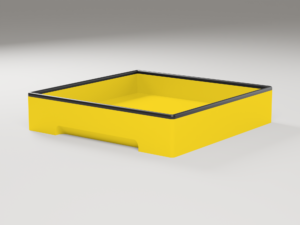
Magnetic Pen Holder for Adjustable Tilting Desks (Book Support) / Magnetischer Stifthalter für Schrägtische (Buchstütze)
Description
English:
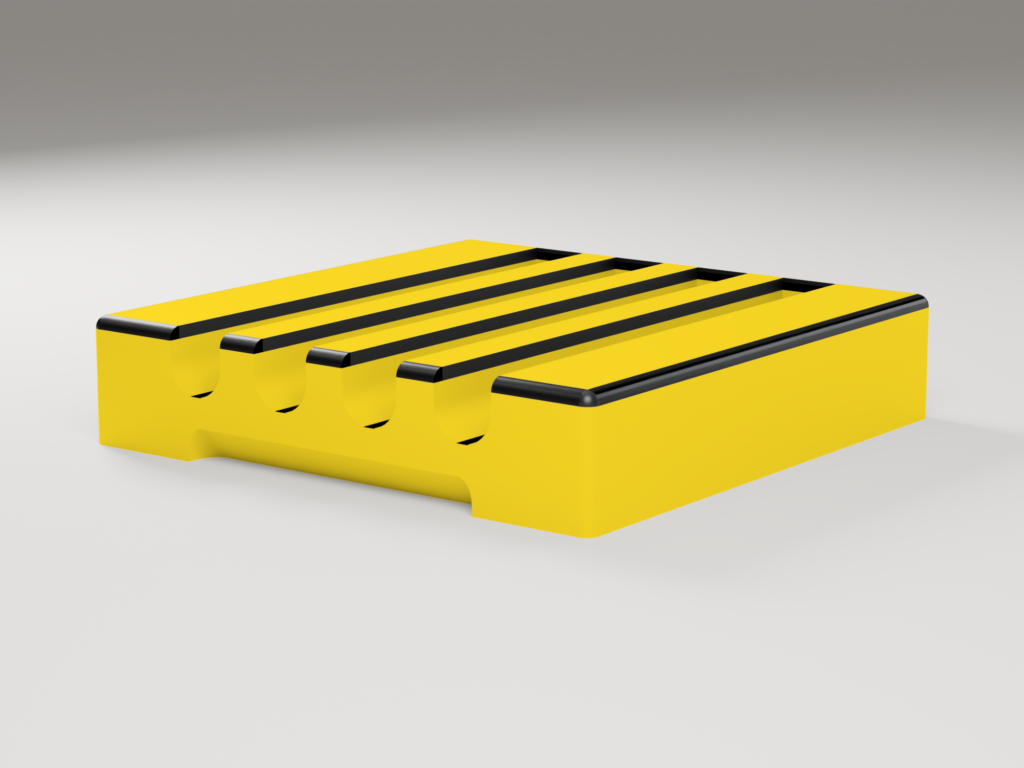
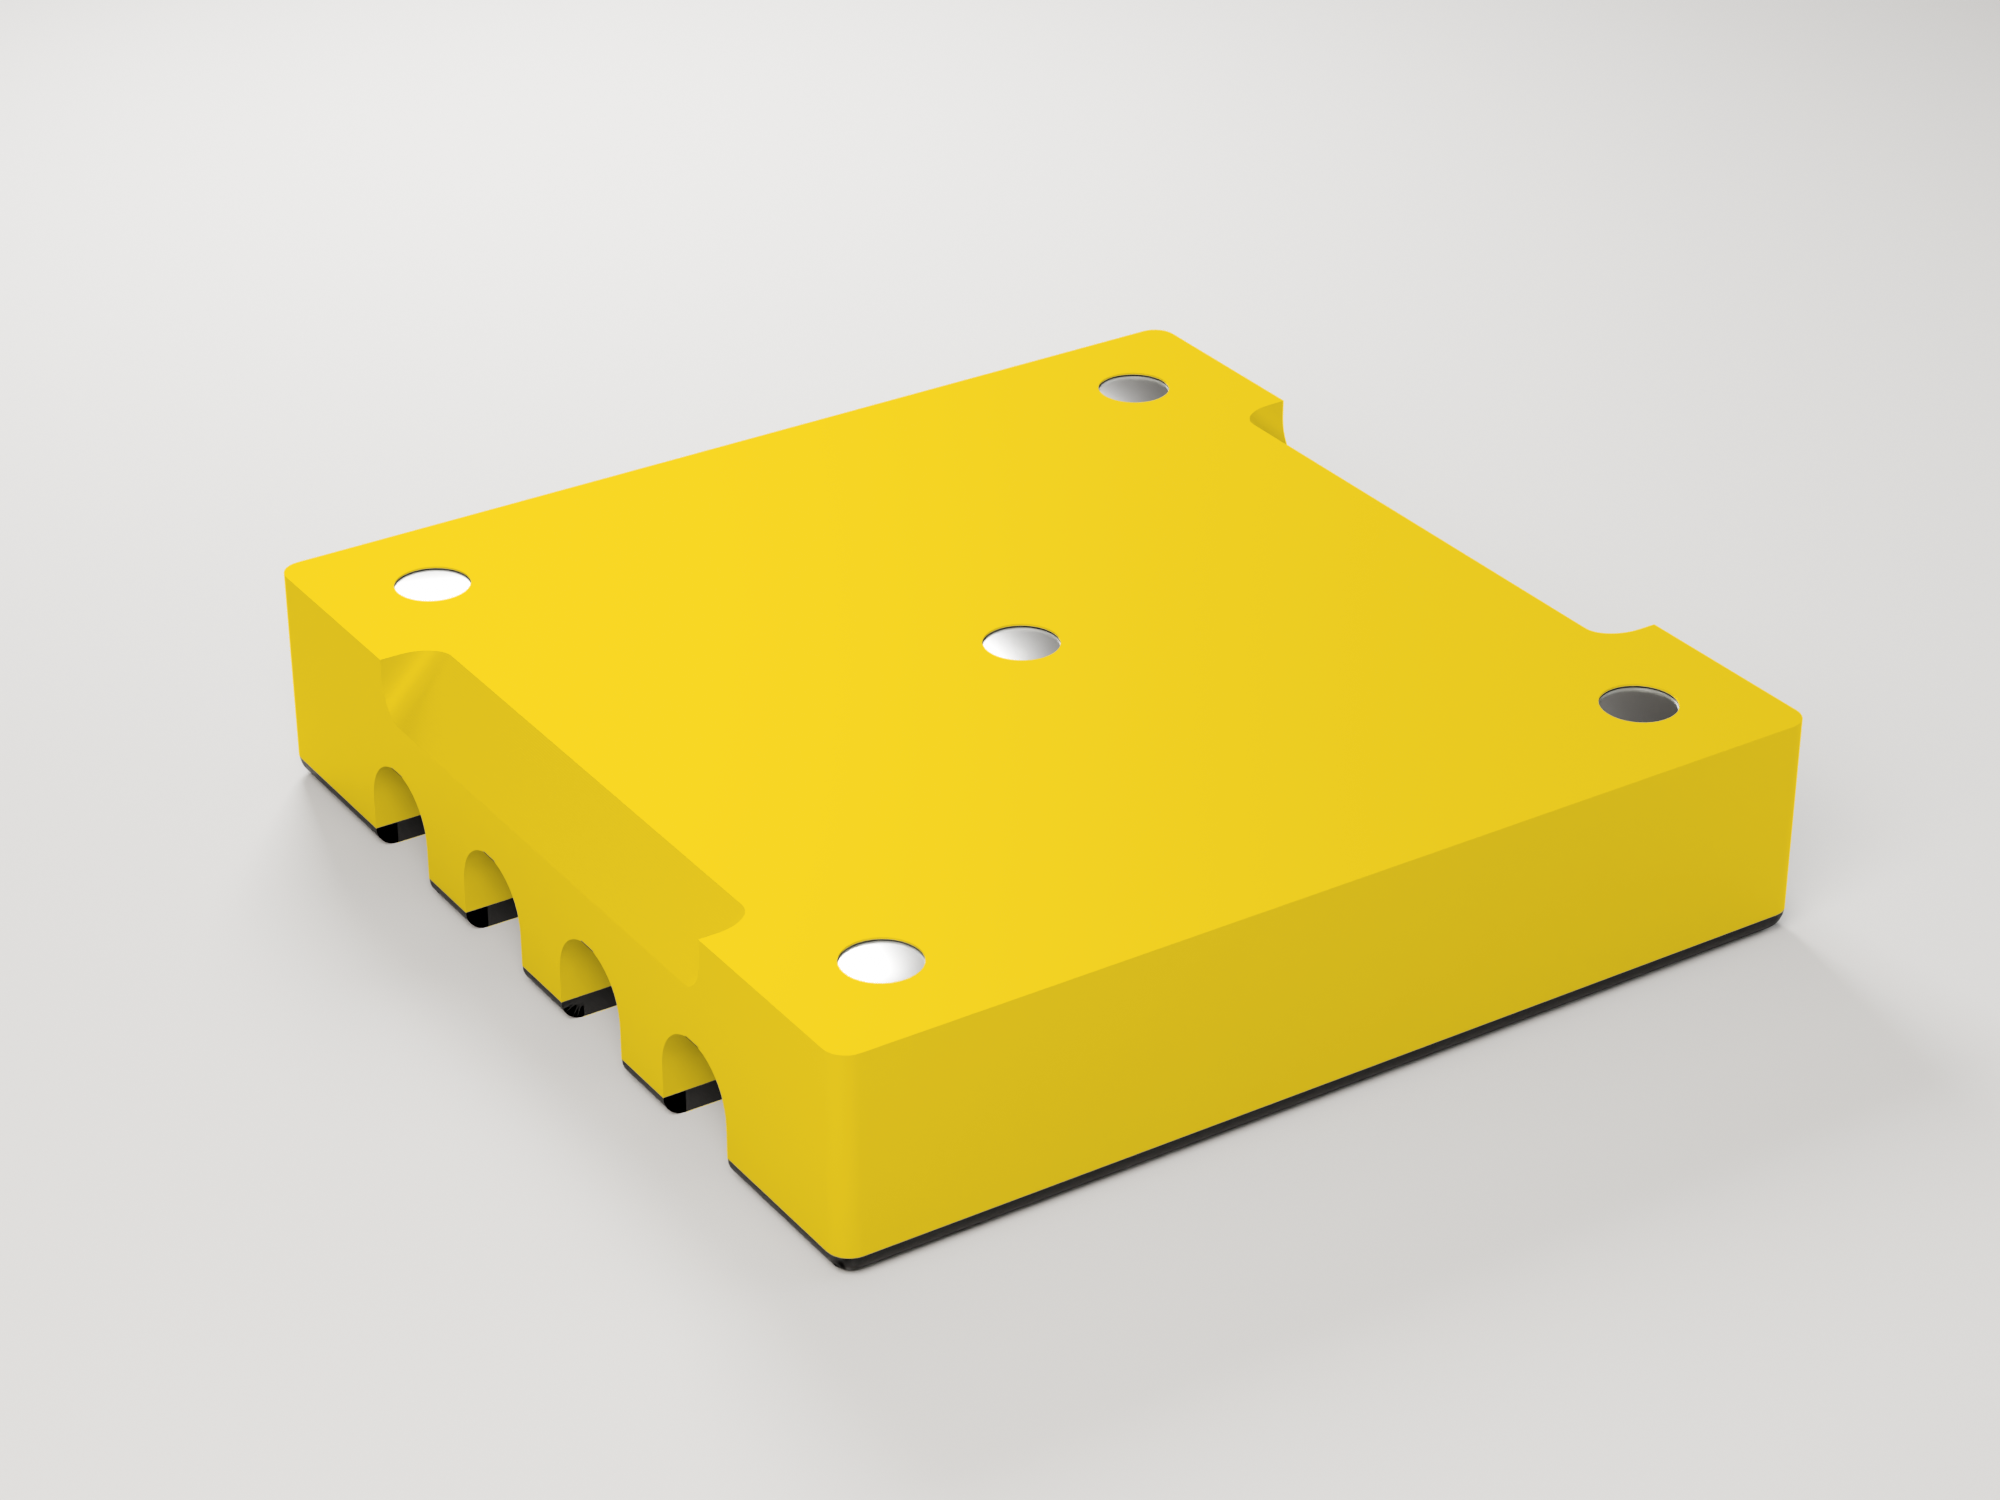
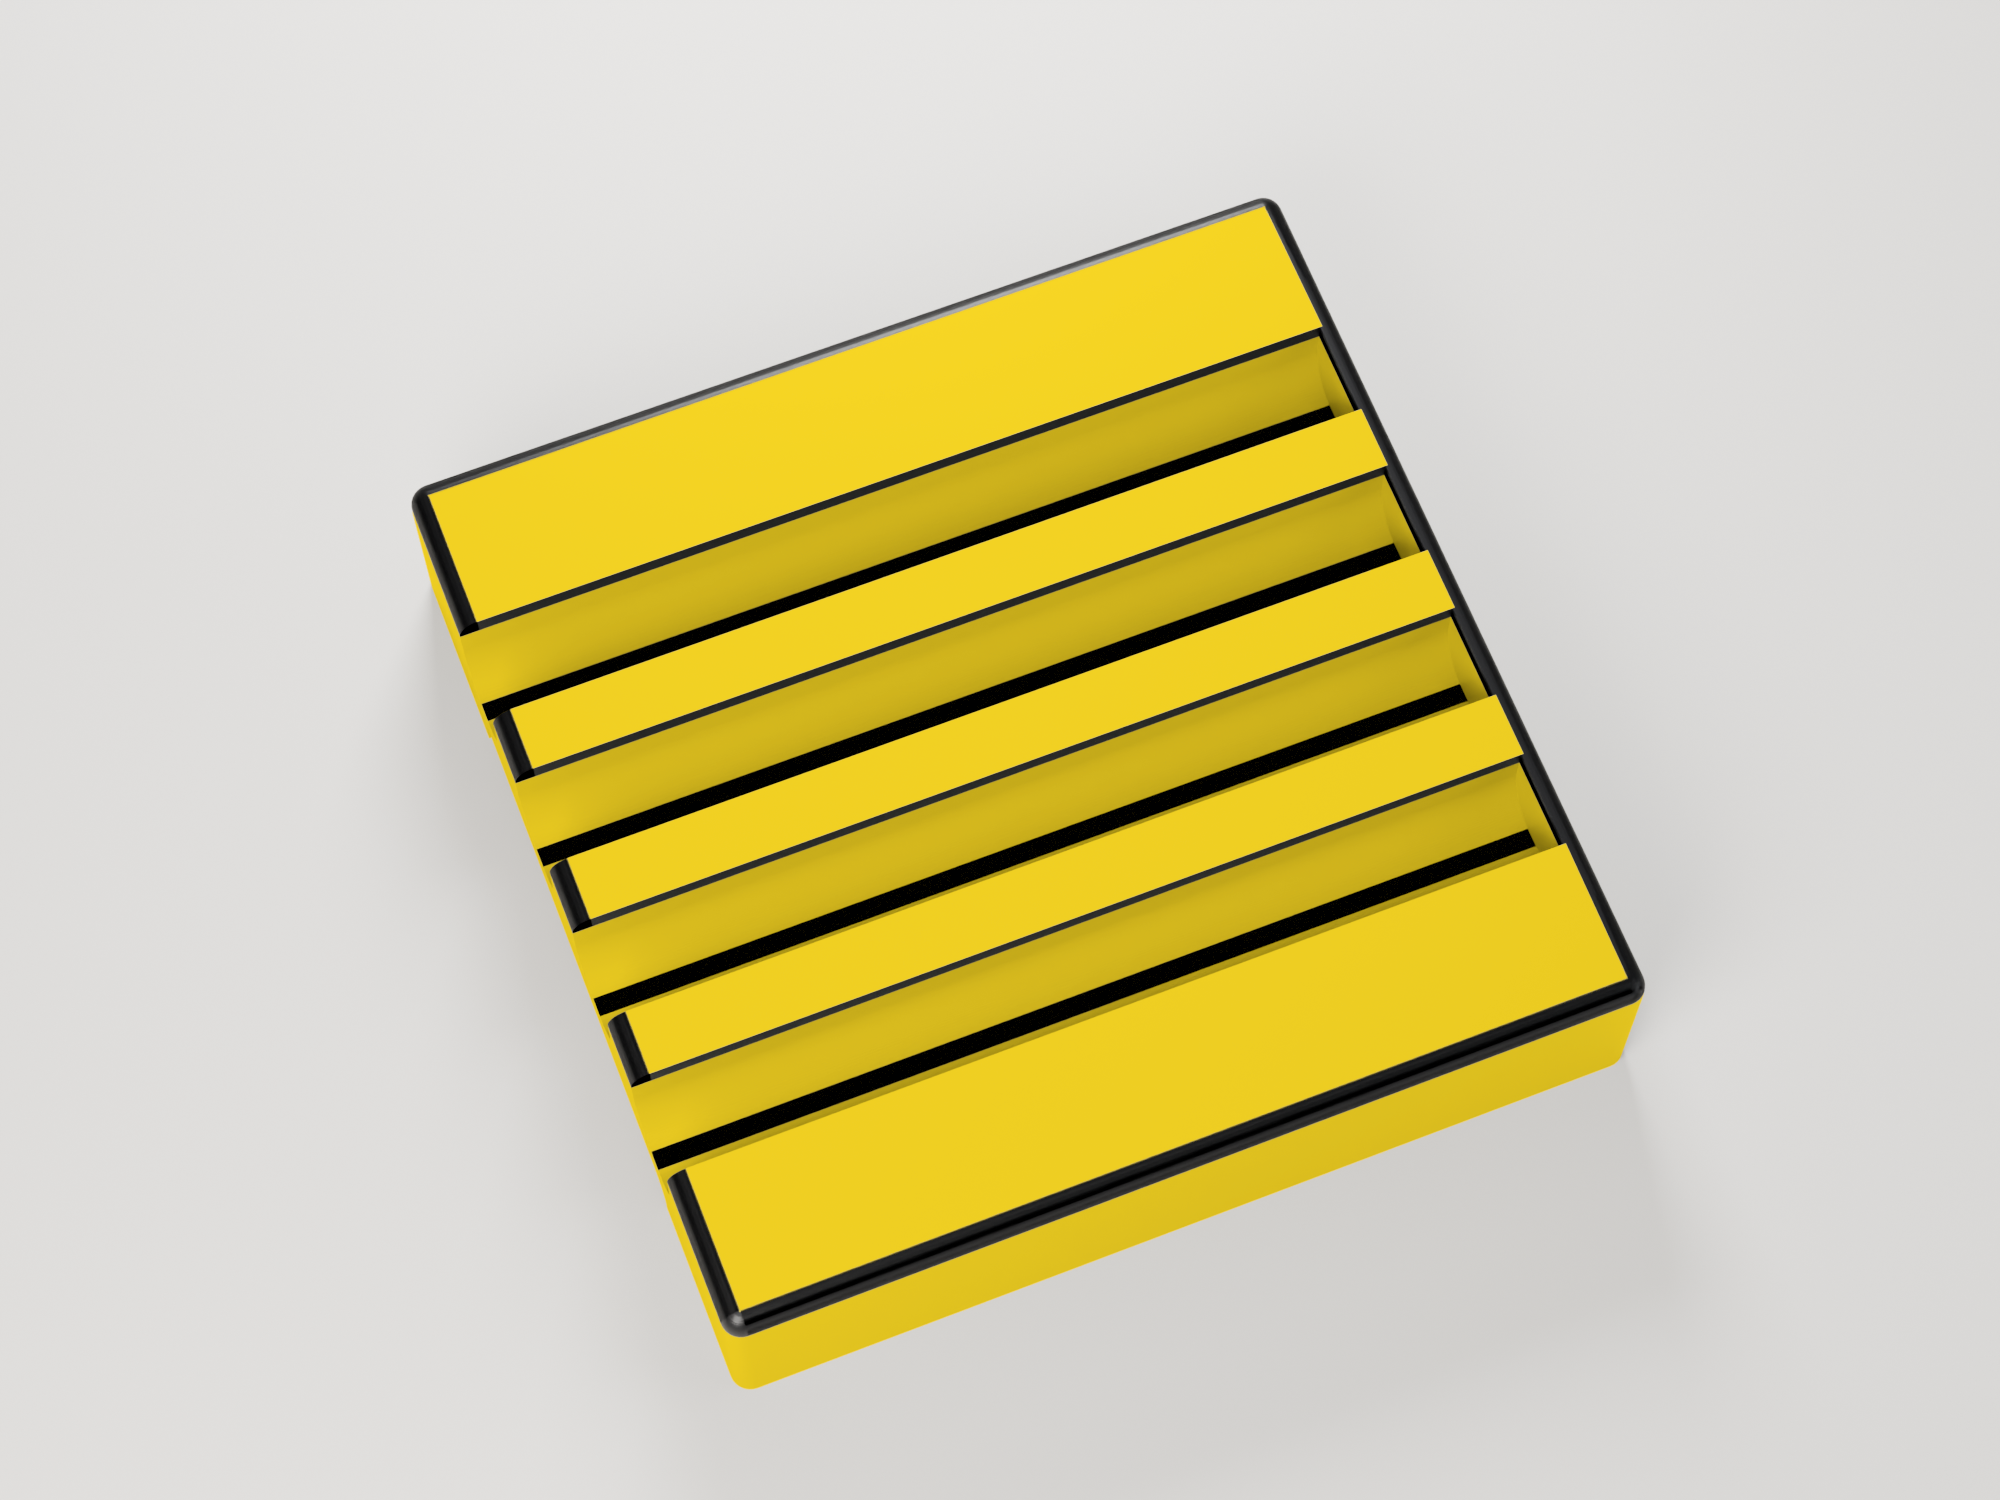
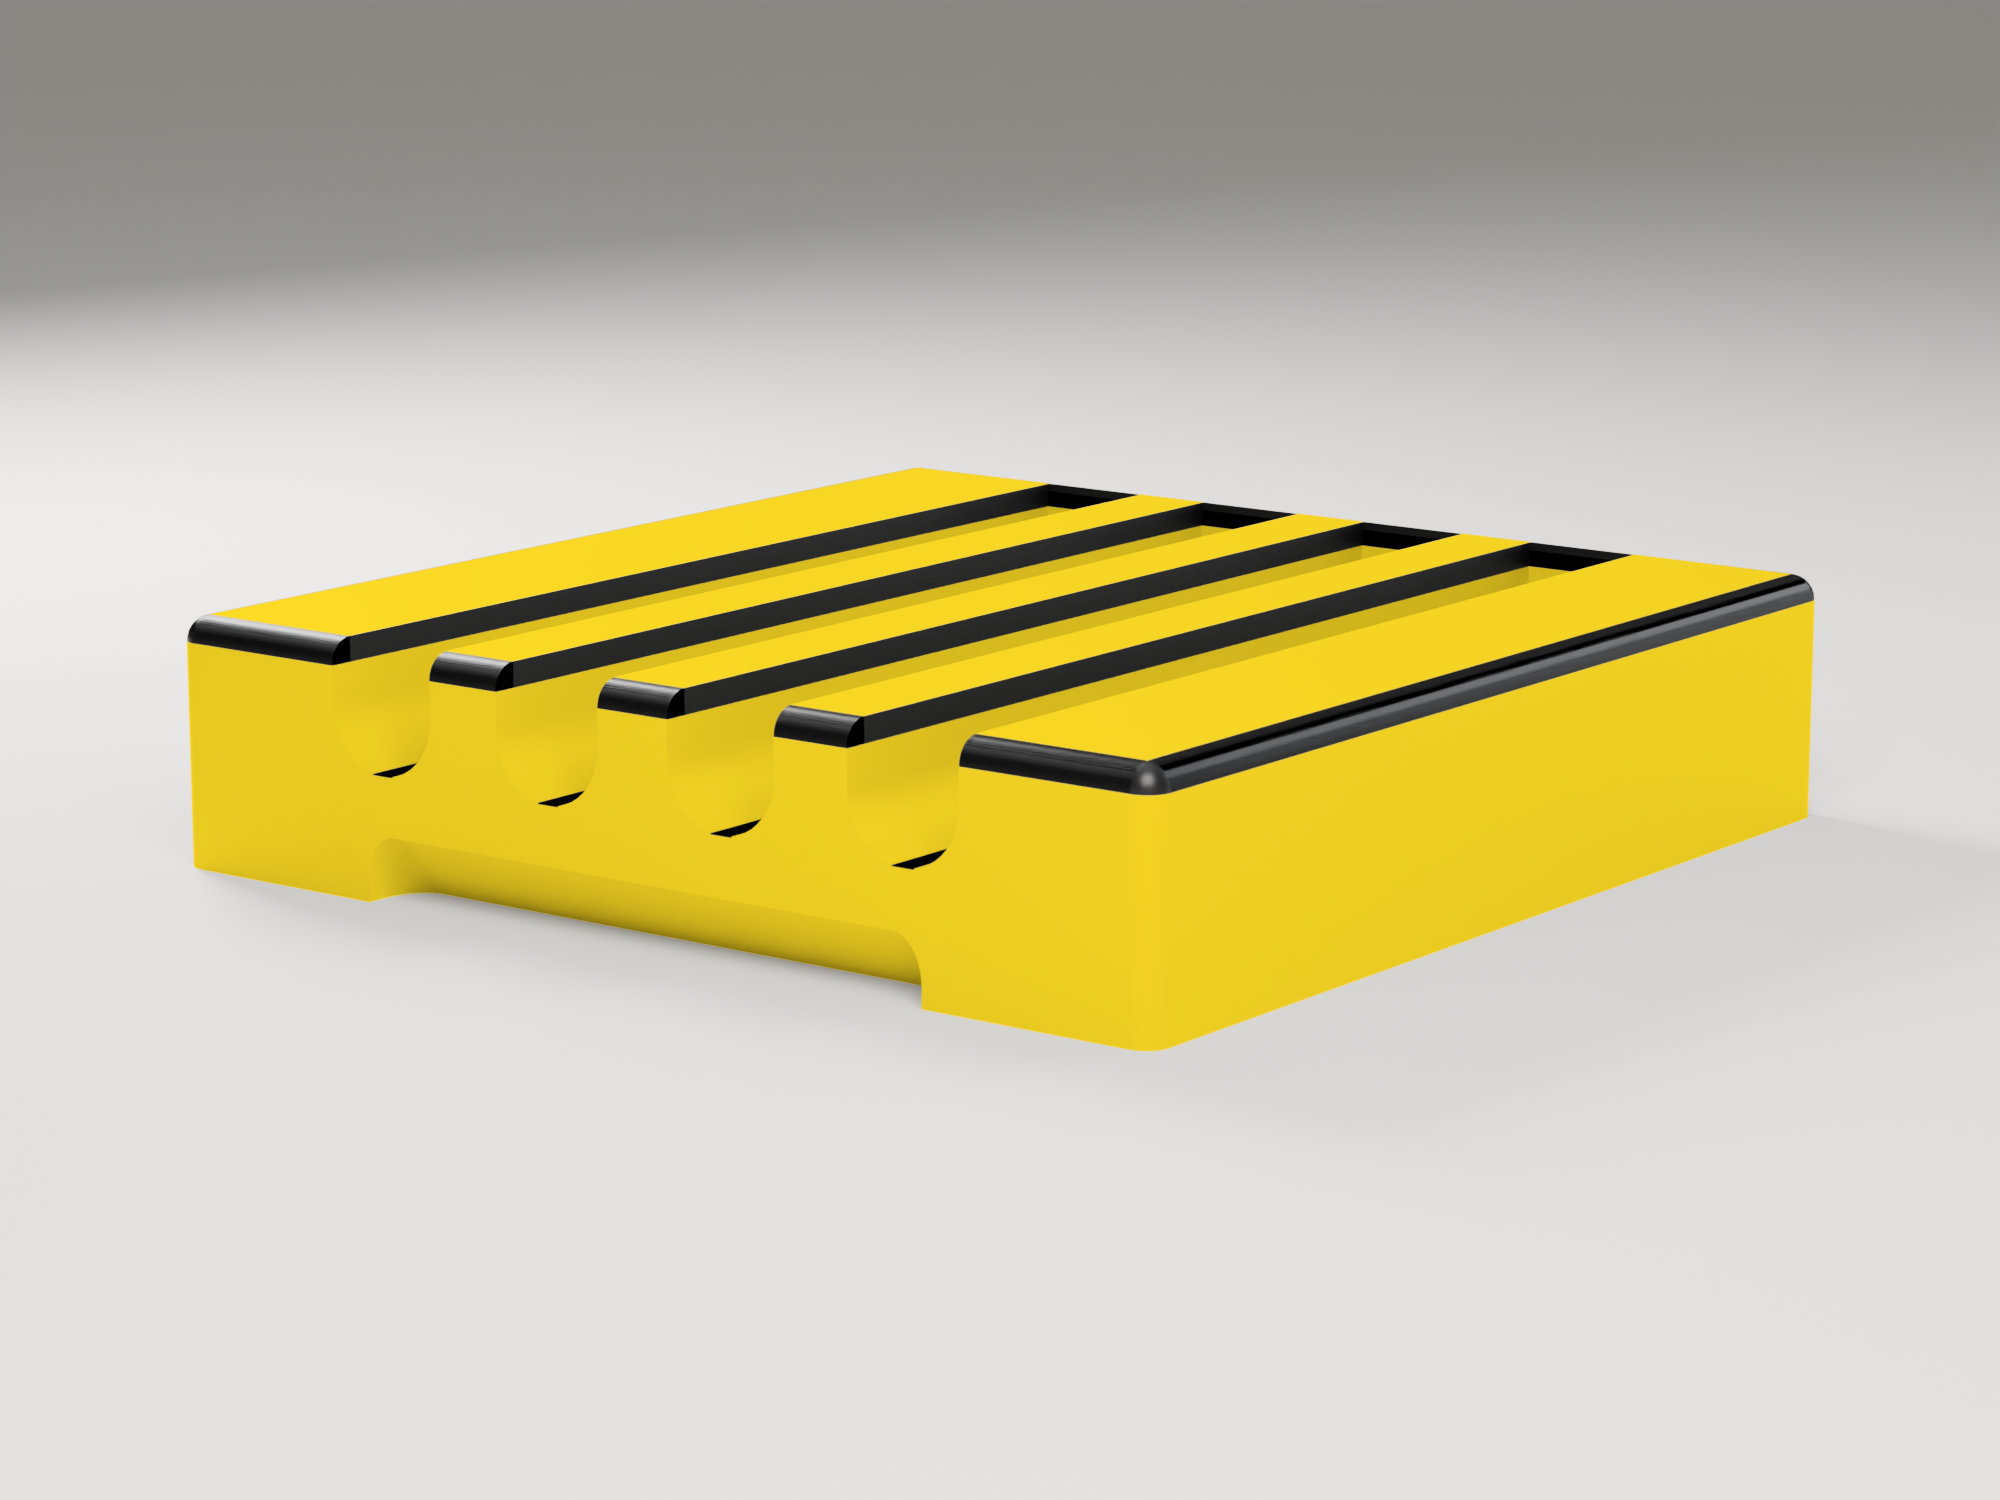
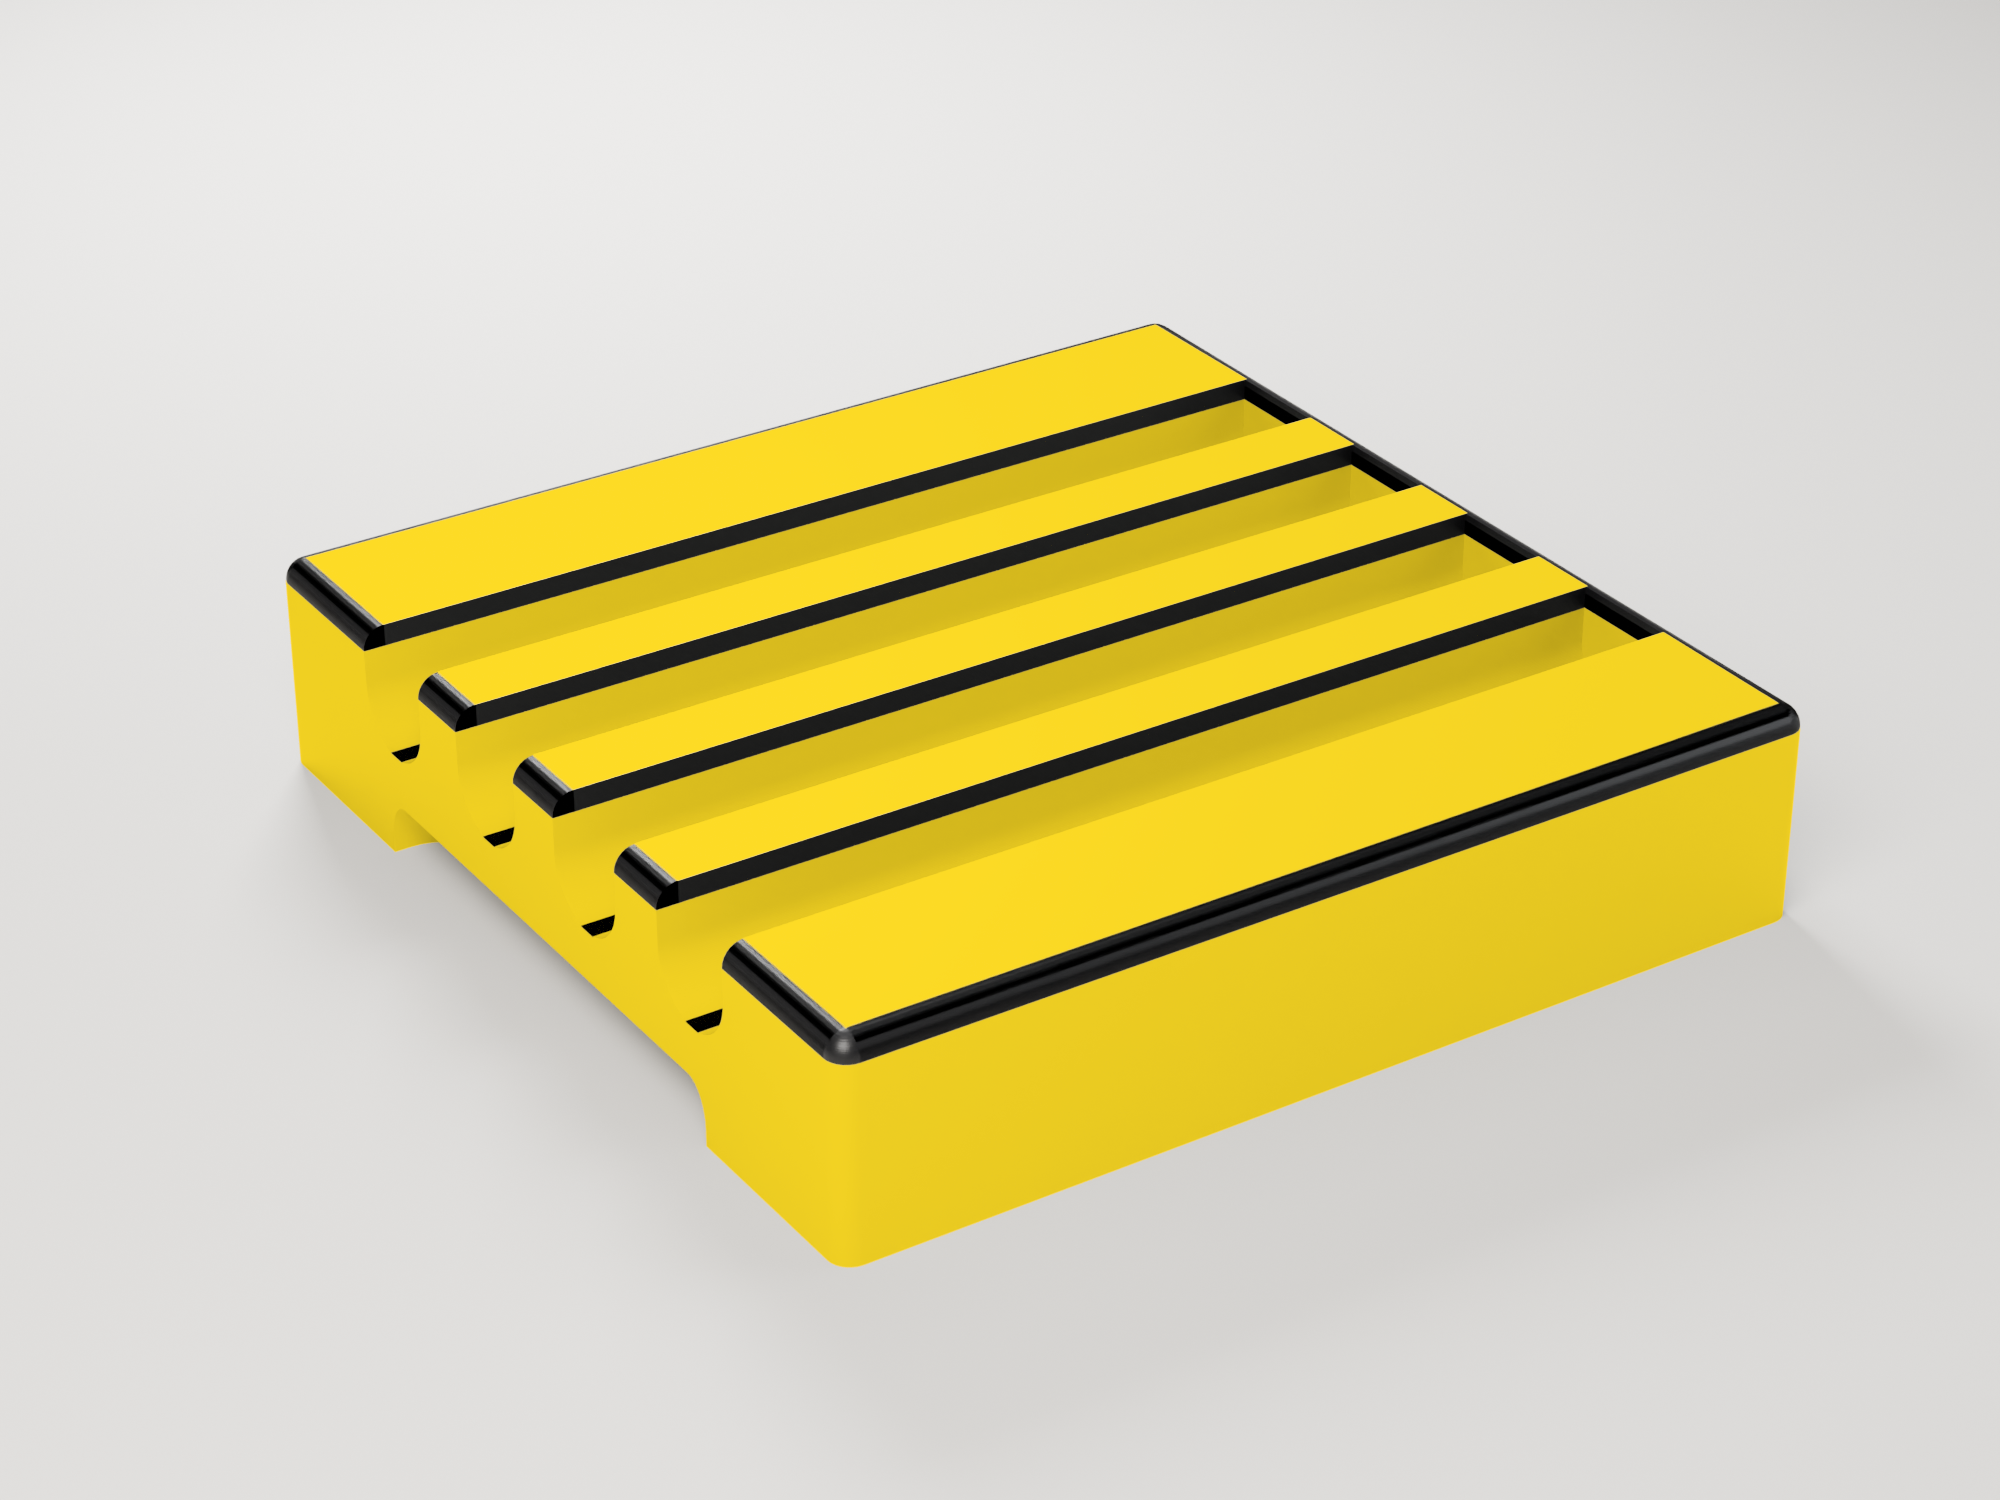
A magnetic pen holder for adjustable tilting desks with a magnetic surface. Five embedded neodymium magnets hold it firmly in place – no screws or adhesive needed.It holds four pens in rounded grooves, so they can't roll off the tilted desk. The pen positions can be marked with a contrasting colour – a great help for students to find and put back their pens quickly.
The pen holder has the same dimensions as my magnetic tray for adjustable tilting desks, so both fit together seamlessly and can be combined freely – for example a pen holder next to a tray used as a book support.
Specifications
- Outer dimensions: approx. 140 × 140 × 30 mm
- 4 pen grooves, each 15 mm wide
- Magnets: 5 × neodymium disc magnets 15 mm × 2 mm
- Material: PLA (0.4 mm nozzle, 0.2 mm layer height)
- Optional two-colour print: contrasting colour for the pen positions and the top rim
German:
Ein magnetischer Stifthalter für Schrägtische mit magnetischer Oberfläche. Fünf eingedruckte Neodym-Magnete halten ihn sicher an Ort und Stelle – ganz ohne Schrauben oder Kleber.Er nimmt vier Stifte in abgerundeten Mulden auf, sodass sie nicht vom schrägen Tisch rollen. Die Ablagepositionen der Stifte können mit einer Kontrastfarbe markiert werden – eine große Hilfe für Schülerinnen und Schüler, um ihre Stifte schnell zu finden und wieder zurückzulegen.
Der Stifthalter hat die gleichen Abmessungen wie meine magnetische Schale für Schrägtische, sodass beide nahtlos zusammenpassen und sich frei kombinieren lassen – zum Beispiel ein Stifthalter neben einer Schale als Buchstütze.
Technische Daten
- Außenmaße: ca. 140 × 140 × 30 mm
- 4 Stiftmulden, je 15 mm breit
- Magnete: 5 × Neodym-Scheibenmagnete 15 mm × 2 mm
- Material: PLA (0,4-mm-Düse, 0,2 mm Schichthöhe)
- Optional zweifarbig: Kontrastfarbe für die Stiftpositionen und den oberen Rand
Gallery
Printing instructions and tips
English:
⚠️ Important: Embedding the magnets (print pause)The magnets are fully enclosed in the print. The file contains a pause at layer 14 (Z = 2.8 mm).
- Check in the slicer that the pause is shown at layer 14 before printing. If it is missing, add a pause manually at the last layer before the magnet holes are closed.
- When the printer pauses: manually lower the bed temperature to approx. 48 °C and wait until it has cooled down before inserting the magnets. Otherwise the neodymium magnets can lose their magnetism.
- Insert the 5 magnets into the holes (make sure they are fully seated and flush, so the nozzle cannot hit them).
- Resume the print – the magnets are now printed in.
A personal touch
I always ask my students for their favourite colour and print their name on the underside – a small detail that makes each one a little more personal.
German:
⚠️ Wichtig: Einlegen der Magnete (Druckpause)Die Magnete werden vollständig eingedruckt. Die Datei enthält eine Pause bei Schicht 14 (Z = 2,8 mm).
- Vor dem Druck im Slicer kontrollieren, ob die Pause angezeigt wird (Schicht 14). Falls nicht, manuell eine Pause in der letzten Schicht vor dem Schließen der Magnetlöcher einfügen.
- Wenn der Drucker pausiert: Druckbetttemperatur manuell auf ca. 48 °C senken und warten, bis sie erreicht ist – erst dann die Magnete einlegen. Andernfalls können die Neodym-Magnete ihren Magnetismus verlieren.
- Die 5 Magnete in die Löcher einlegen (darauf achten, dass sie vollständig und bündig sitzen, damit die Düse nicht daran hängen bleibt).
- Druck fortsetzen – die Magnete werden nun eingedruckt.
Eine persönliche Note
Ich frage meine Schülerinnen und Schüler immer nach ihrer Lieblingsfarbe und drucke ihren Namen auf die Unterseite – ein kleines Detail, das jeden Stifthalter ein bisschen persönlicher macht.
Downloads
- Adjustable Tilting Desk Pen Holder + Book Support (STL)
- Adjustable Tilting Desk Pen Holder + Book Support (3MF)
- Schrägtisch Stifthalter+Buchstütze (3MF)
- Schrägtisch Stifthalter+Buchstütze (STL)
- Stifthalter_01_Cover_Gelb (PNG)
- Stifthalter_02_Seitenansicht_Gelb (PNG)
- Stifthalter_03_Draufsicht_Gelb (PNG)
- Stifthalter_04_Unterseite_Magnete_Gelb (PNG)
Bundle of all files listed above.