Table of Contents
As described in article 3. Braille, 3D printed models can very well be directly provided with Braille. When designing the model, the braille can be applied directly to the model in the appropriate 3D software, so that the 3D printer can print it directly onto the object.
This article first discusses the factors that influence the quality of braille. Unfortunately, this can vary widely, so that a number of design principles must be strictly adhered to.
The article then focuses on didactic issues, since a large amount of specialist and experiential knowledge is also required here in order to label the model beneficially.
Braille quality and its influencing factors
The quality of braille printed on the model depends not only on the design in the 3D design program, it also depends on the 3D printer used, the orientation of the braille during printing and other slicing settings.
3D printer
Depending on the quality of the 3D printer, braille can be produced in different grades. A good printer with proper calibration is undoubtedly capable of producing very high quality braille. But with the necessary care in slicing, a comparable quality of braille can also be produced with inexpensive entry-level devices.
Printing orientation
The orientation of braille has a significant influence on its quality and readability. Without a doubt, braille lettering on a vertical wall produces the best quality. If at all possible, braille should always be printed vertically and , horizontal printing should be avoided at all times. Horizontal printing means aligning the surface with braille parallel to the build surface.
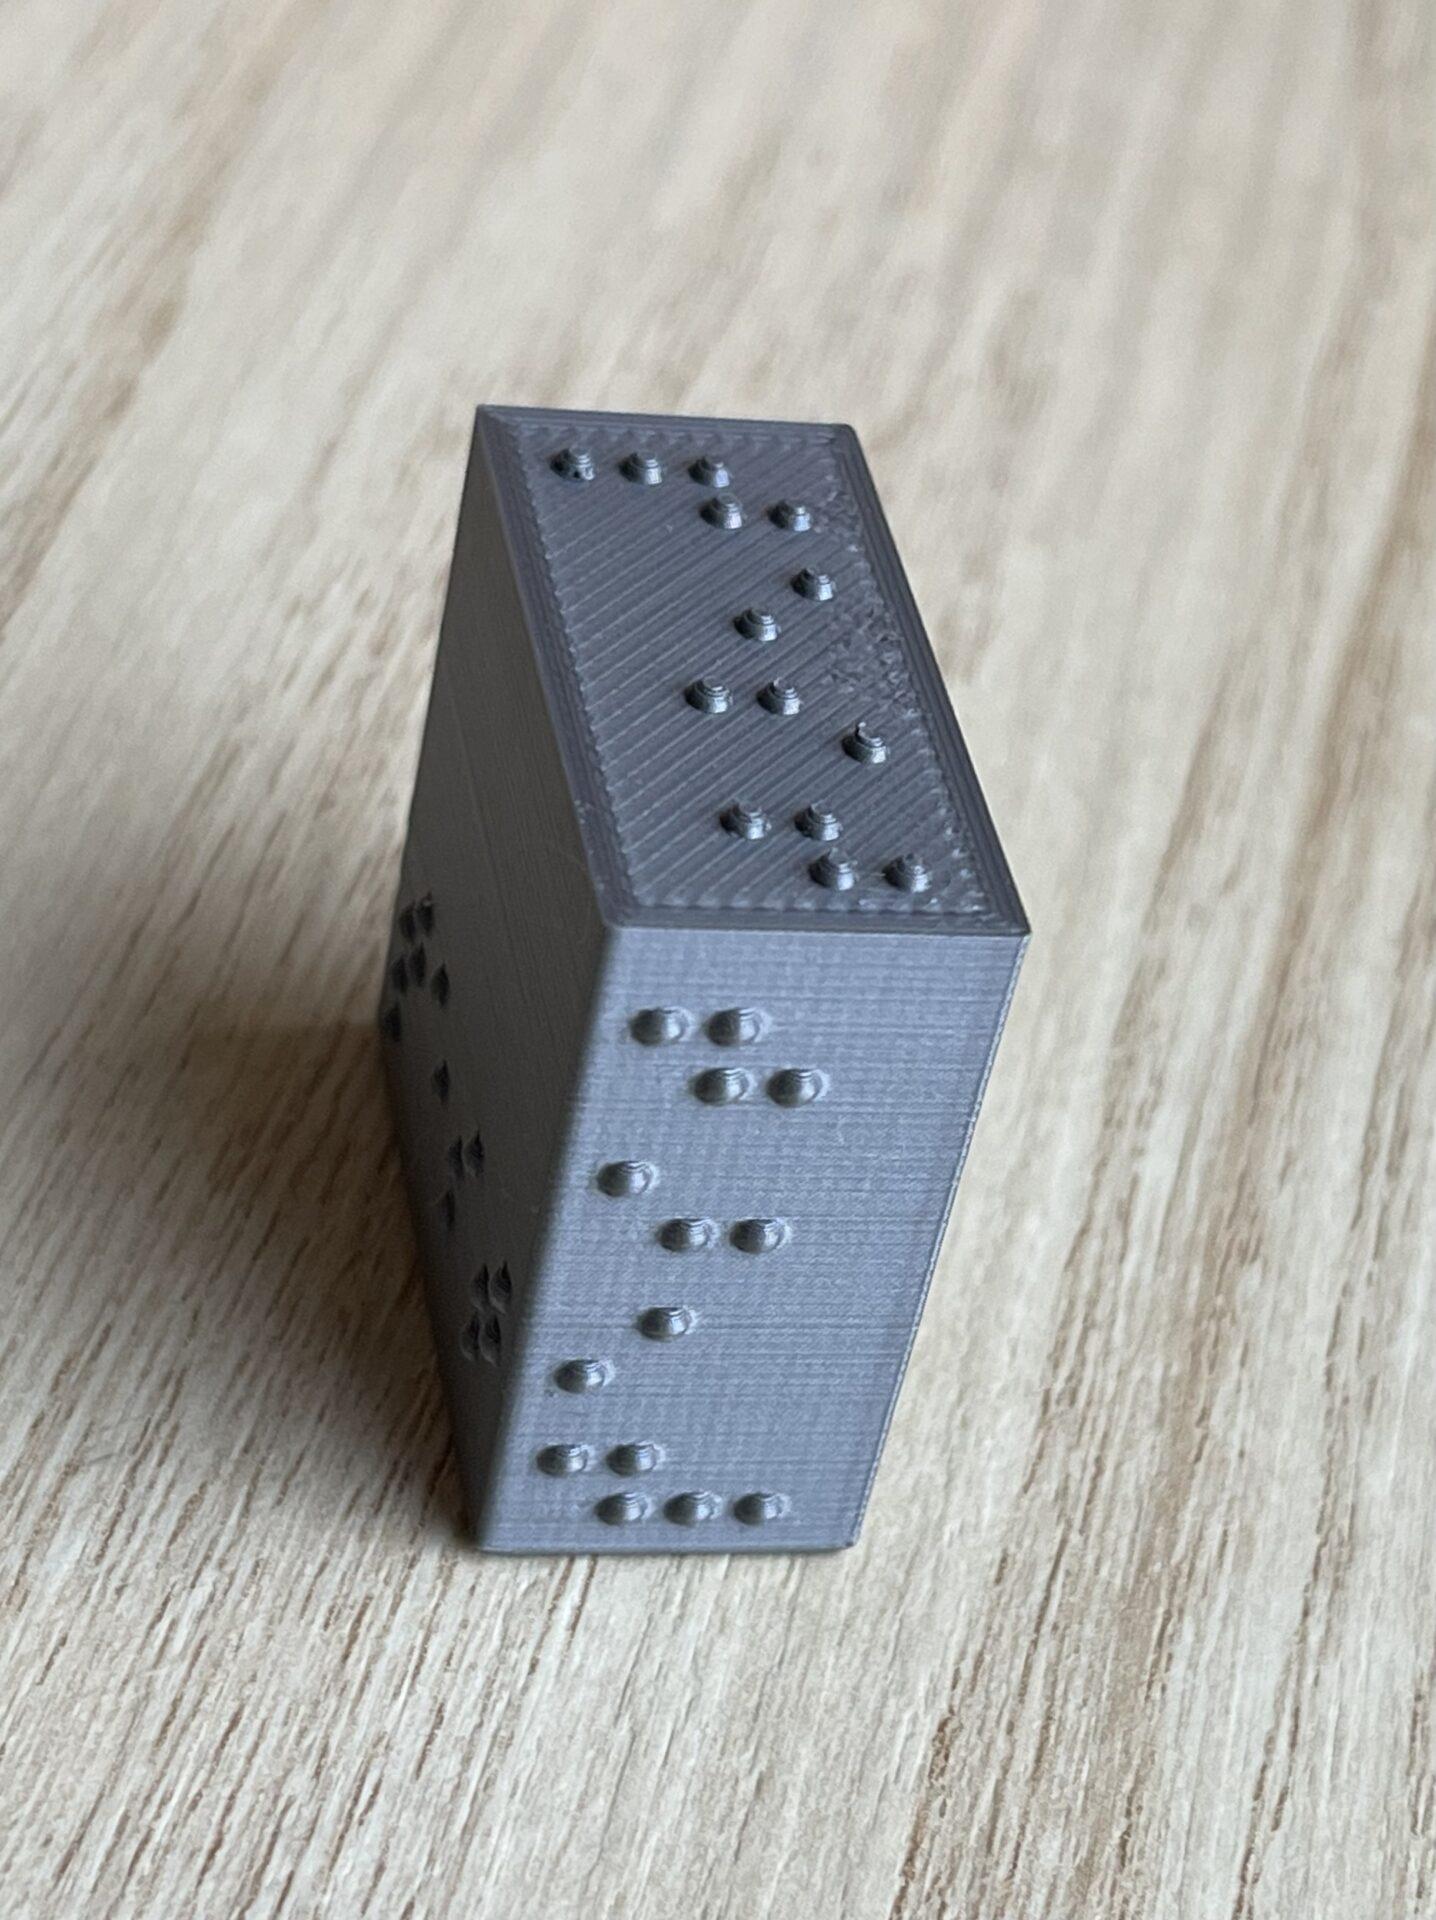
Braille on an angled surface produces slightly better quality than horizontal braille, but this should also be avoided. The size of the angle plays an important role here, as does whether it is a negative or positive angle in relation to a vertical wall.
If a lot of braille has to be printed on a horizontal surface with a low-quality printer, then alternative techniques must be considered. Labelling with braille labels after printing might make sense here. These labels can be produced with a labelling machine.
Other factors influenced by slicing
There are more slicing settings that have a big influence on the quality of the braille. However, these all depend on the quality of the printer used.
Printing Speed:
Generally speaking, slower printing also means better quality. In the case of printing braille it is particularly important to reduce the printing speed of the outer wall. How slow you should print depends on the quality of the printer.
Layer Height:
Normally, one might imagine that a lower layer height would lead to significantly better braille. However, this is not the case. The study showed that a thicker layer height (0.2mm) was preferred in particular by less experienced braille readers. However, the differences in braille are very small and were irrelevant to the pupils. As a result, it is not necessary to print in a fine resolution just because of the braille.
Z-seam:
Movement in the Z direction should not be made directly at a braille dot. A way of preventing this might be to set the position of the Z-seam in Cura to the back left.
Spacing around the lettering with Braille
To ensure that Braille can be read without problems, the lettering should be at least 4mm away from disturbing elements such as lines, edges, dots, etc. in all directions. A survey at the Schloss-Schule Ilvesheim with 12 blind people aged 8-37 years showed that a distance of 3mm should not be undercut under any circumstances. The majority preferred 4mm.
If the braille is surrounded by a rectangle or an angle, a distance of more than 4mm makes sense (if space is available).
The following test objects were presented to the volunteers to determine their prevalences.
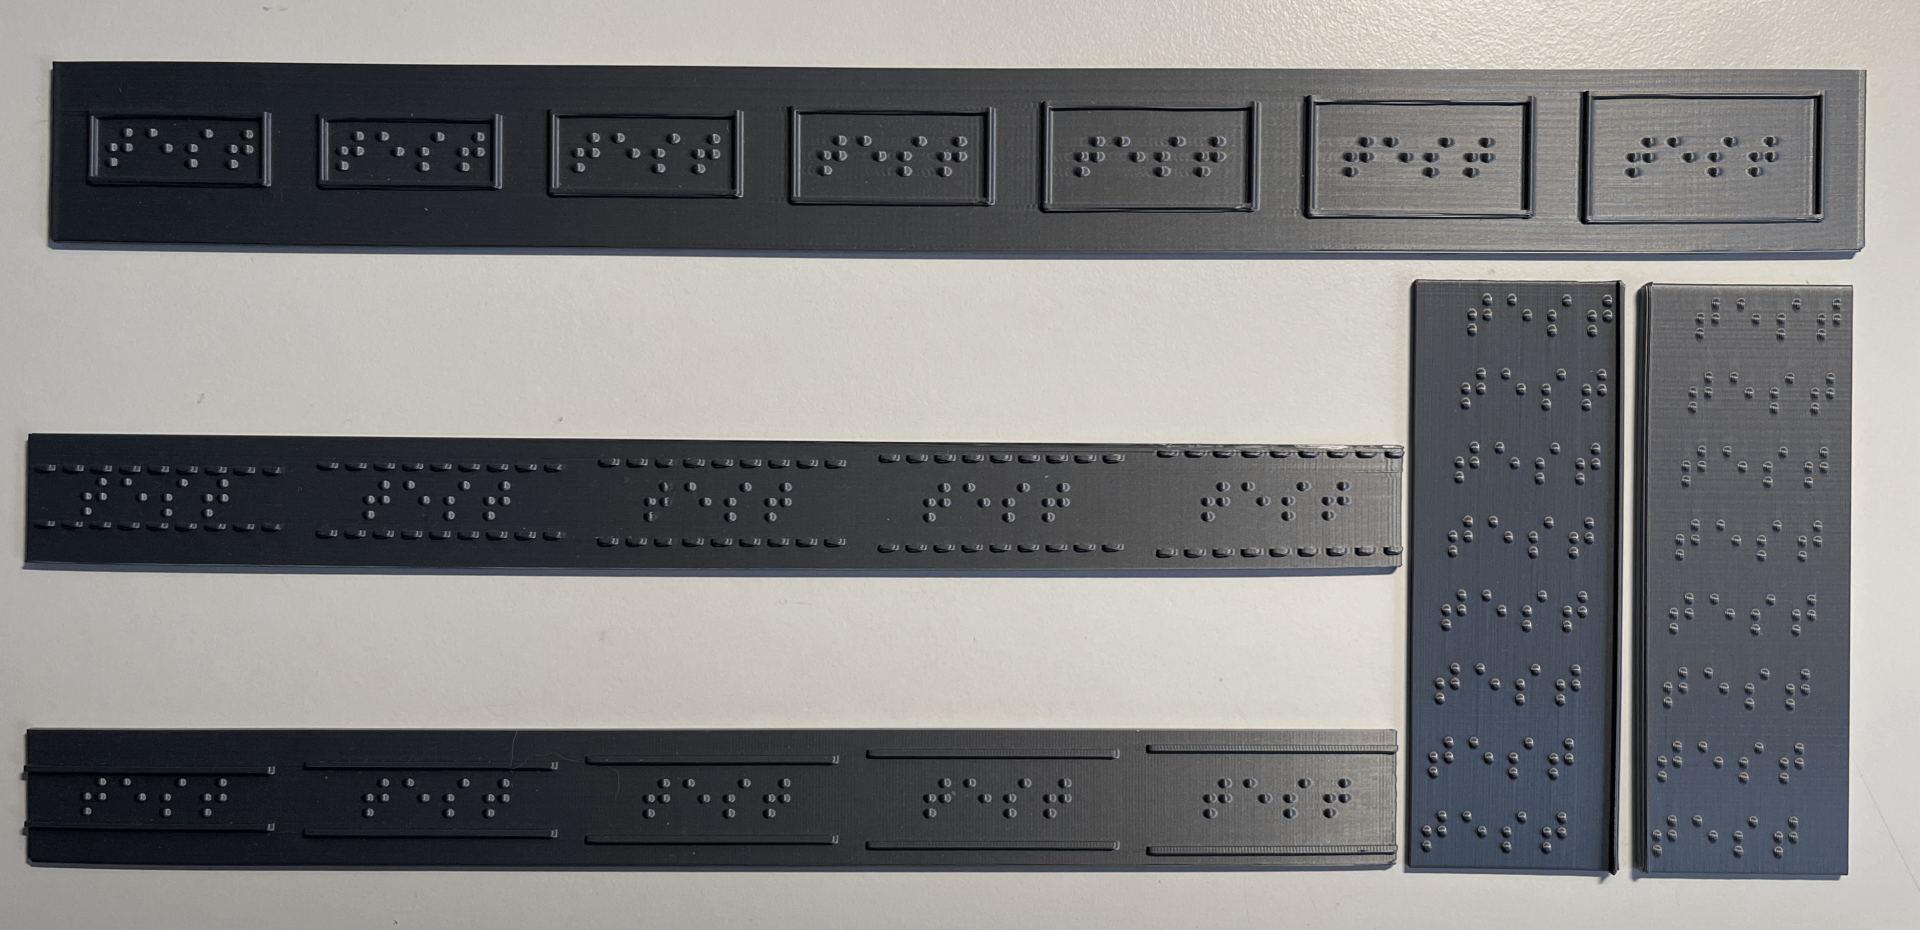
In a recess (pocket hole), in which the reading finger must be inserted deeply, it requires in any case significantly more distance.
Reading direction
When reading braille, it is helpful to know the direction of the letters. Sometimes the letters make sense even if they are actually upside down. There are two ways of looking at it:
- It is not necessary to mark the reading direction, as it becomes clear after only a few characters whether the reading direction makes sense. If the braille was read the wrong way round, i.e. upside down and from the end, it will usually not make sense and the user will notice within a very short time.
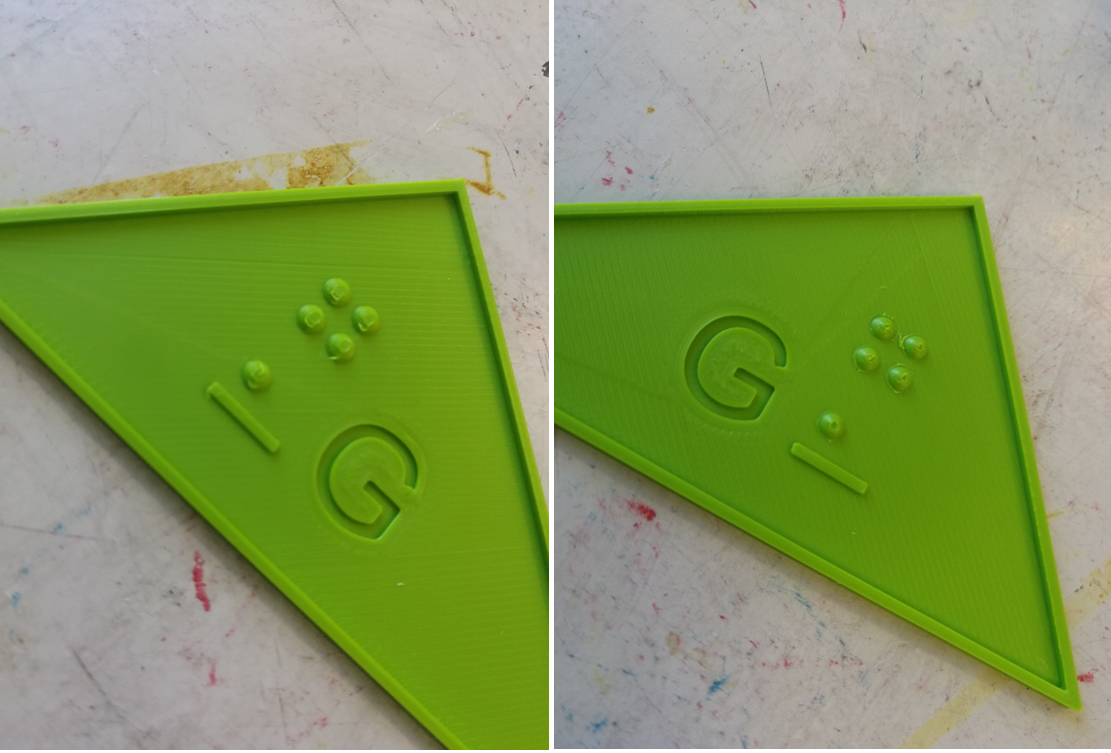
- Marking the reading direction helps. To mark this, a standard indicator such as a full character can be placed at the beginning. In Australia, for example, signage standards require a semicircle before the first braille cell. It is also possible to place an indicator below the first symbol. This could be a short line, for example.
Braille on curved surfaces
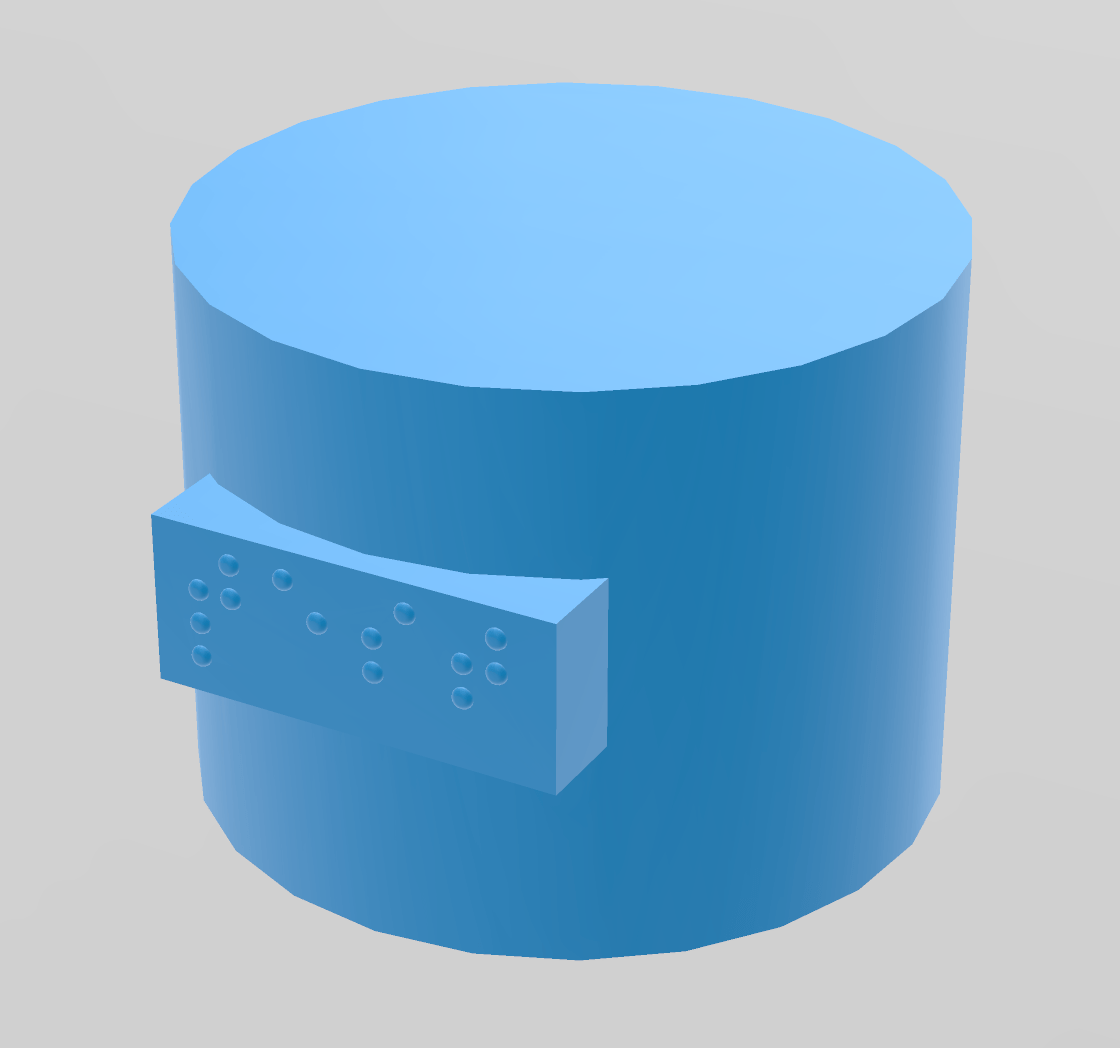
It is not often possible to write braille on curved surfaces. Depending on the software, this can be reasonably fast, complex or not possible at all. In addition, from a didactic point of view, the question must be asked whether it makes sense at all. Complex structures and fine details as well as differences in height (see, for example, topological maps) are not suitable for labelling with braille on rough surfaces. If, on the other hand, the surface is only curved, as for example on a cylinder, the question has to be answered quite differently.
To reduce the problem of curved surfaces, braille can always be created on a base plate. This way, braille is not only easier to read due to the flat surface, it is also more easily located on a complex model. The braille-printed surface does not necessarily have to lie in the plane of the model, it can also extend outwards. This has the advantage that it is easier to recognise the inscriptions.
Post-processing of braille
The quality of horizontally printed braille characters can be improved by smoothing the surface. One way to do this is to smooth the dots with a special ball cutter.
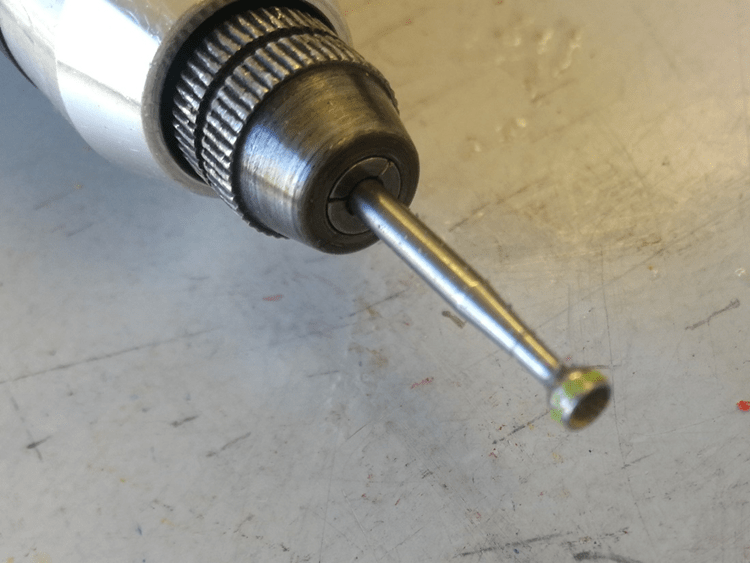
This tool is actually used for jewellery making, but with a little effort it can also be used to improve the surface structure of the braille dots.
Summary
- limit yourself to essential content and try to reduce the amount of text
- make sure that braille is printed in the correct size
- choose the braille code suitable for your cultural area
- consider whether a reading direction indicator should be given
Written by: Tobias Wolfsteiner